As a web developer, you know the importance of using CSS to style your website’s pages and posts. But did you know that you can also insert CSS into individual pages or posts? This can be a great way to customize the look and feel of specific pages or posts, without having to edit the CSS for the entire website.
To insert CSS into an individual page or post, simply open the editor for that page or post and add the following code:
.custom-css { color: green; }
This will add a “Custom CSS” class to the of your page or post, which you can then use to apply custom styles. For example, you could add this code to your header:
<head> <title>My Custom Page</title> <style>.custom-css{color:#00FF00;}</style> </head>
Why should you choose WP Add Custom CSS?
-All free.
-Easy to install and use.
-Supports both posts, pages and Custom Post Types.
-Supports syntax highlighter to help you edit code more intuitively and easily.
Insert CSS into each page in WordPress
- To do this, you first need to install and activate the WP Add Custom CSS plugin (download).
- Next, access Add Custom CSS. Here, you will see some settings as shown below.

In there:

Main CSS: allows you to insert CSS code to display on all pages of the website.
Post Types: Allows optionally displaying CSS code insertion on custom post types.
Advanced editor: enable syntax highlighter. If you feel this feature is not too necessary, you should turn it off.
Click the Save button to save it after the setup is complete.
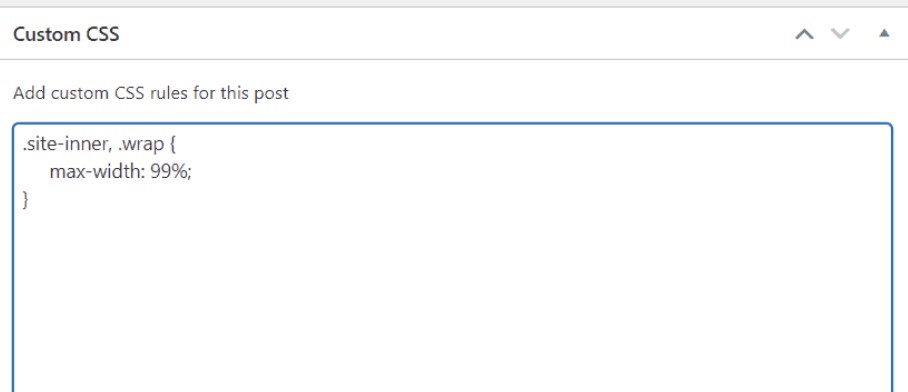
- Open your page or post editor. Scroll down, you will see an additional frame called Custom CSS. Insert your CSS code into this box.
After you publish or update the post/page. The CSS will automatically be applied to the post/page where you just inserted the code. When you have a beautiful wordpress website, customize SEO see more: Top Google SEO Tips For 2022
It’s simple, right? Good luck!